Simple, Quick, and Juicy Grilled Chicken Breast
I'll teach you the restaurant secret to juicy, perfectly grilled chicken breasts with gorgeous marks every single time.
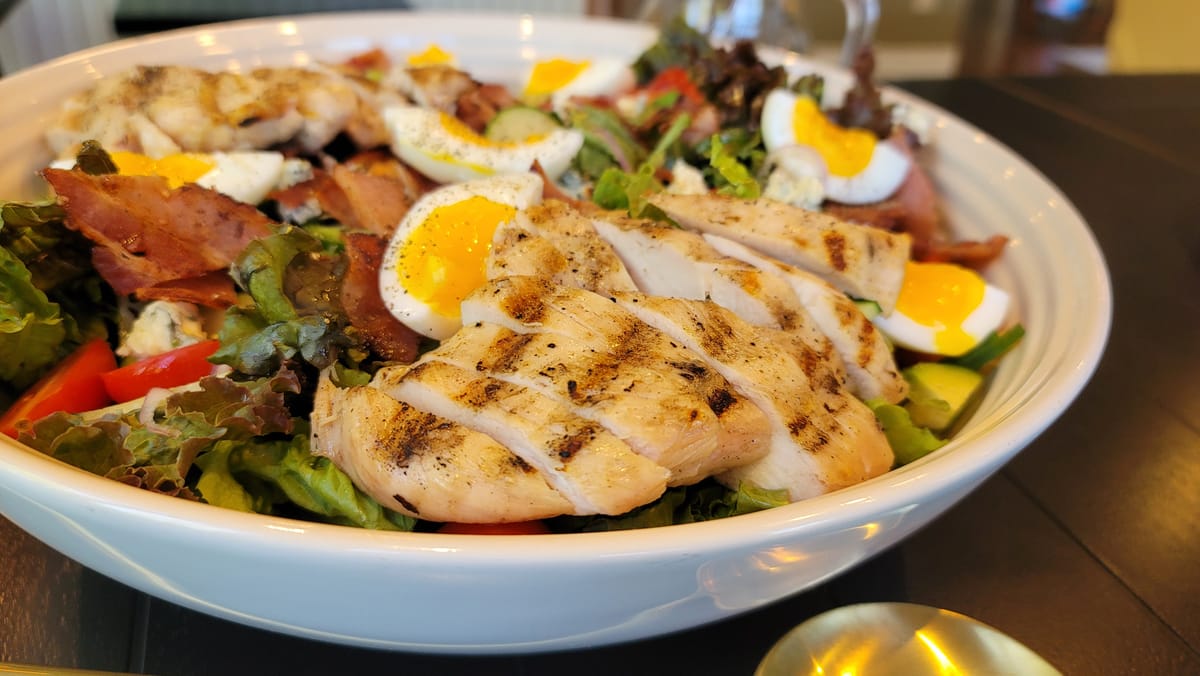
Ever wonder how restaurants serve up those perfectly grilled chicken breasts that are moist and tender on the inside, yet have gorgeous grill marks on the outside? That's exactly what we're aiming for with this recipe! Forget about dry, stringy chicken that's charred on the outside and bland in the middle. With a few key techniques, you'll get delicious grilled chicken every single time.
Ingredients
- *Serves 4*
- 4 boneless, skinless chicken breasts (6–8 oz each)
- Salt, to taste
- Black pepper, to taste
- 2–3 tbsp neutral oil (for brushing), plus more for the grill
- 1–2 tbsp olive oil (optional, for drizzling)
- 1–2 tbsp fresh lemon juice (optional, for drizzling)
- 1–2 cloves garlic, minced (optional, for drizzling)
Instructions
- 1
Place one chicken breast at a time in a resealable plastic bag or between a couple of layers of plastic wrap. Cover with a paper towel to catch the splatter, just in case. Pound lightly to an even thickness with the flat side of a meat mallet (a rolling pin or the bottom of a frying pan will also work). You will basically gently pound the thicker side of the chicken breast—that's it! Don't pound too thin; we are not making a schnitzel here. The goal is to even out the chicken breasts so they are more or less the same thickness (a bit of difference is fine). I usually go for at least 3/4" (2 cm) thickness, but anywhere between 1/2" to 3/4" (1.5–2 cm) thickness will work, just as long as you remember that thinner chicken will cook faster.
- 2
Season your chicken breasts with salt and pepper. If you have time, refrigerate them uncovered after they are seasoned for 1–4 hours to "dry brine" them. Brush the chicken lightly with oil.
- 3
Preheat your grill to high by turning all the burners except one to medium-high. Make sure to clean and oil your grill. The reason one burner is off is that if any specific piece of chicken gets too charred, it can finish cooking over the indirect heat. However, this is unlikely with this technique when the chicken is pounded and cooked on a gas grill.
- 4
Place your chicken directly over medium-high heat and cook undisturbed for 4–5 minutes. The goal is to get very nice grill marks without burning the chicken while cooking it more than halfway through. Flip the chicken over and finish cooking on the other side for 2–5 minutes until the safe internal temperature of 165°F (74°C) is reached. Your chicken is already cooked more than halfway through, so the other side, depending on how thick your chicken breast was, may only take a couple of minutes. Insert the thermometer carefully into the middle of the breast from the side of the chicken to get an accurate reading. The second it hits 165°F (74°C) in the middle of the breast, remove the chicken from heat and let it rest.
- 5
After at least 5 minutes of rest time, slice it against the grain of the chicken and enjoy. Feel free to drizzle your chicken with olive oil, lemon juice, and crushed garlic mixture.
📝 Ellen's Notes
## Tips for Perfect Grilled Chicken Every Time
- Optional: Brine for Extra Moisture Brining can add extra moisture and flavour. I use a dry brine method.
- Pound to an Even Thickness This step is crucial. Uneven cooking is the main reason chicken breast turns out dry. By pounding the chicken to a uniform thickness, you ensure that it cooks evenly, preventing the thinner parts from becoming overcooked while waiting for the thicker parts to finish.
- Season Generously Don't skimp on seasoning. A well-seasoned chicken breast makes all the difference, so add salt, pepper, and any other spices you love before grilling.
- High Heat is Your Friend High heat is key to achieving a nice sear and retaining moisture. Cook the chicken breasts over high heat, and aim for a quick cooking time. With an even thickness, this should take no more than 10 minutes—so don't walk away from the grill!
- Use a Thermometer Remove the chicken from the grill as soon as it hits 165°F. If you're unsure, pull it off a few degrees early, as the internal temperature will continue to rise.
FAQ
Did you try this recipe?
Leave a star rating — it helps other cooks find it!
Comments


Looking for more? Explore the full collection — filter by lifestyle, cuisine, or dietary needs.