Individual Light and Airy Mini Pavlovas – The Perfect Summer Dessert ☀️
Crispy outside, marshmallowy inside, topped with cream and strawberries—these mini pavlovas are my go-to summer dessert that somehow always impresses.
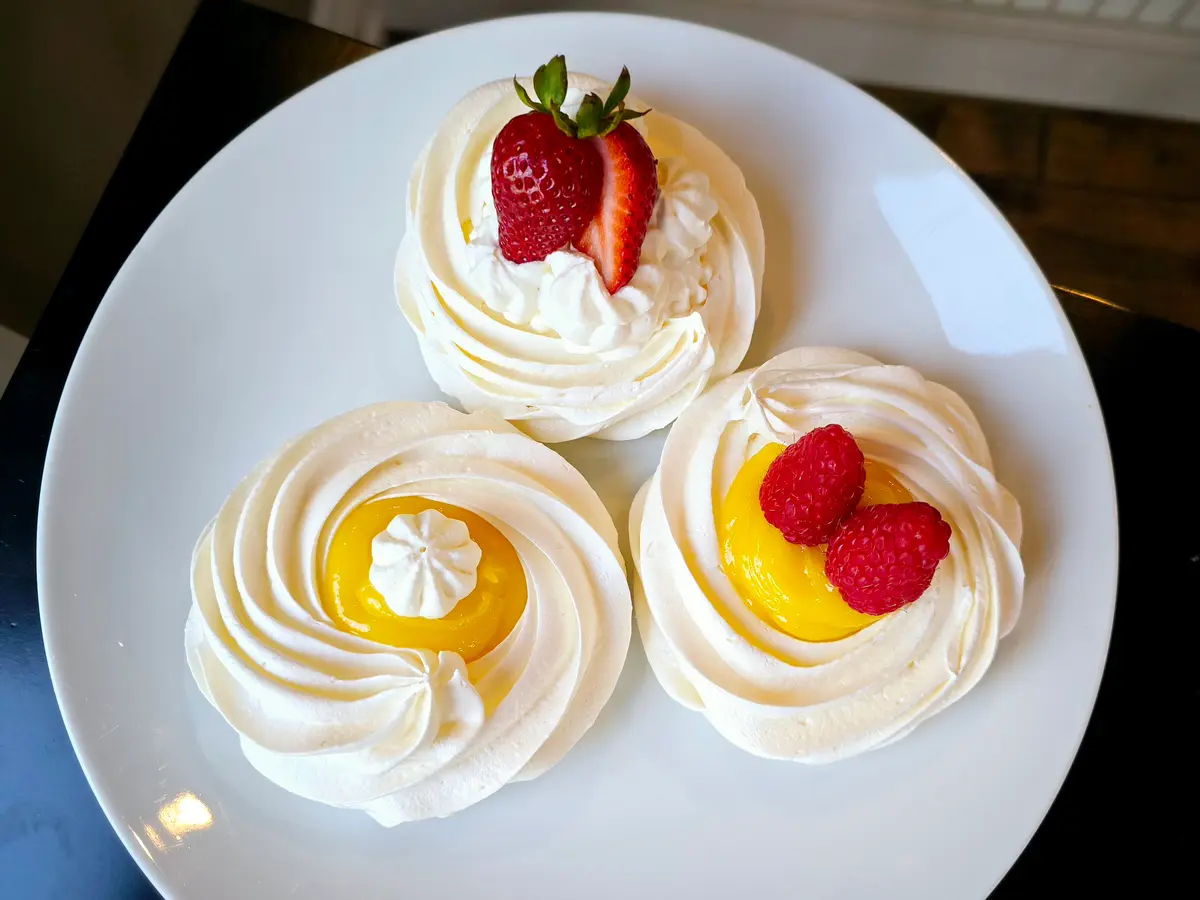
Crispy on the outside, soft and marshmallowy on the inside, and topped with fresh whipped cream and juicy strawberries—these mini pavlovas are the ultimate summer dessert! 🍓✨ Whether you're hosting a summer gathering or bringing a treat to a potluck, these delicate pavlovas are sure to impress.
One of the best parts? You can make all the components ahead of time! Simply bake the meringues and store them, then just fill with cream, add your favourite fruits, and serve when you're ready. It's a no-stress dessert that looks elegant and tastes heavenly.
I prefer making individual mini pavlovas instead of a traditional large one because they're so much easier to serve. No need to worry about slicing a big pavlova and dealing with the filling spilling everywhere—just grab and enjoy! Plus, they look absolutely adorable on a dessert table.
And did I mention how easy they are to make? A few simple ingredients and a little patience are all you need for a dessert that's light, airy, and perfect for any summer occasion. ☁️💖
Mga Sangkap
- For the Meringue
- 4 large egg whites, at room temp
- 1 pinch cream of tartar
- 200 g granulated sugar
- 8 g cornstarch
- 10 ml lemon juice
- 1 ml vanilla
- For Topping
- 360 ml heavy cream
- 19 g granulated sugar
- 3 ml vanilla
- 454 g strawberries, halved or quartered
- 25 g granulated sugar
- For Optional Lemon Curd Filling
- 4 large egg yolks
- 60 ml lemon juice
- 100 g granulated sugar
- 1 pinch salt
- 57 g unsalted butter
- 30 ml lemon zest
Mga Tagubilin
Meringue Pavlovas
1Preheat the oven to 250°F (120°C). Line a half sheet with parchment paper. Mix 1 cup (200g) sugar and 1 tbsp (8g) cornstarch in a small bowl.
- 2
Place the egg whites into a clean bowl of your stand mixer (any leftover grease will prevent the eggs from whipping properly). Whip until foamy on medium-low speed. Add a pinch of salt and cream of tartar and whip to soft peaks on medium speed. Add lemon juice and vanilla and beat for an additional 30 seconds. Increase the speed to high. Slowly start adding the sugar/cornstarch mixture in a steady stream while still whipping on high; continue to do so over 2–3 minutes. Stop and scrape the sides of the bowl. Continue whipping on high for another 3–4 minutes until you reach stiff glossy peaks that hold their shape. It is possible to overbeat the meringue, so once you get those stiff glossy peaks, don't keep beating much longer. Scoop the meringue into a large piping bag.
- 3
Prepare two baking sheets by lining them with parchment paper. If desired, draw circles on each parchment paper to guide the shape of your pavlovas. Pipe 8 small circles (about 3 to 3½ inches / 7.5–9 cm) on your parchment paper, or 6 medium circles if you prefer. Start by piping a dot in the centre, then in continuous motion going around the dot twice to make a bigger circle. Then go around the circle to pipe a rim on top of each circle and make the sides. The goal is to have a rim all around so that the cream can go inside each mini pavlova.
- 4
Place your baking sheets into the oven and bake for 1 hour. Turn the oven off and crack the oven door open, leaving the meringues in the turned-off oven for 1 hour until completely cool. This slow, gradual cooling process will prevent any cracks in the meringue.
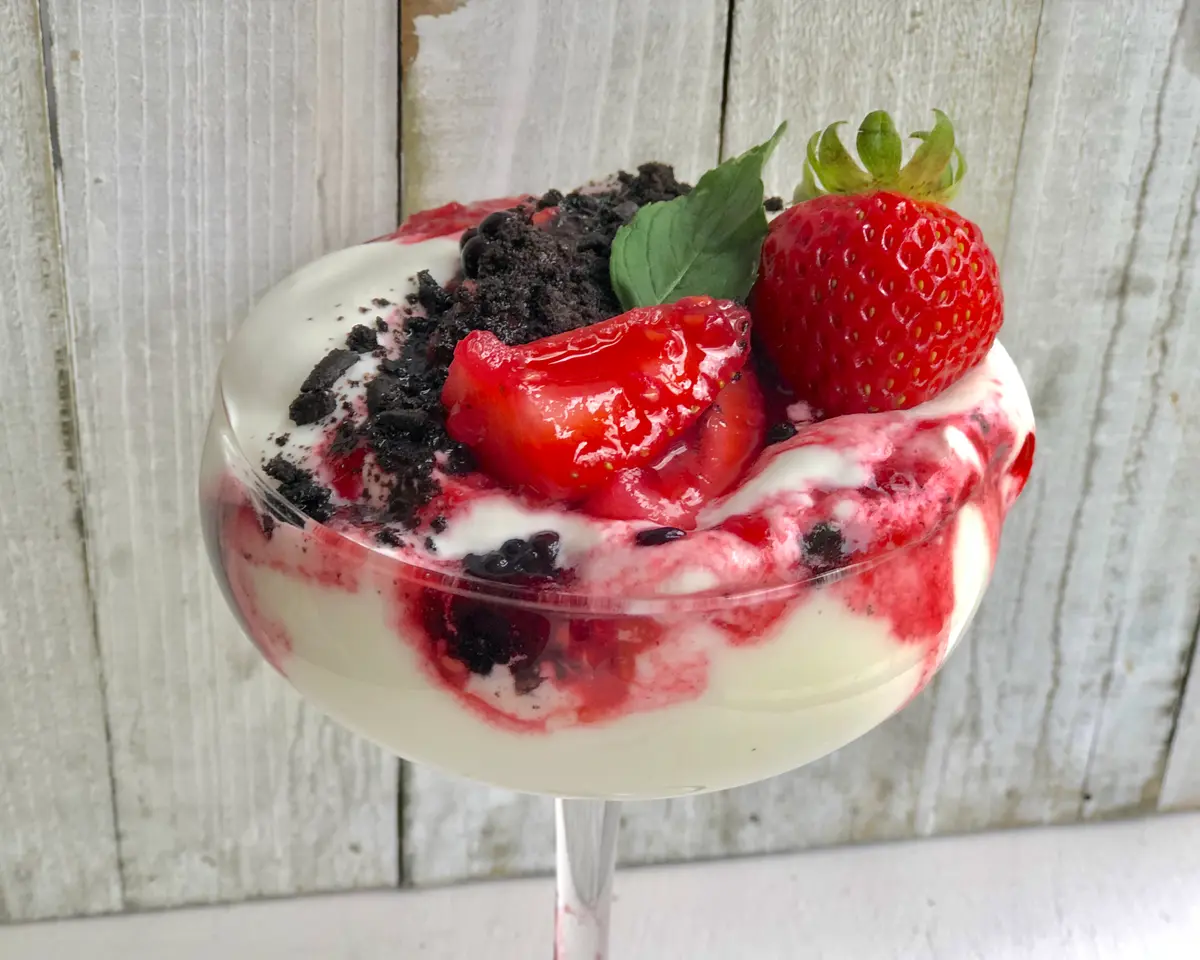
Macerated Strawberries
5While the pavlovas are cooling, mix the strawberries with 2 tbsp (30ml) of sugar in a bowl. Cover and allow to sit at room temperature to macerate for 1–2 hours. If not using right away, refrigerate after the maceration period is complete.
Whipped Cream
6Whip the cream, 1½ tbsp (23ml) sugar, and vanilla to medium peaks. Keep refrigerated until ready to serve.
Assembly
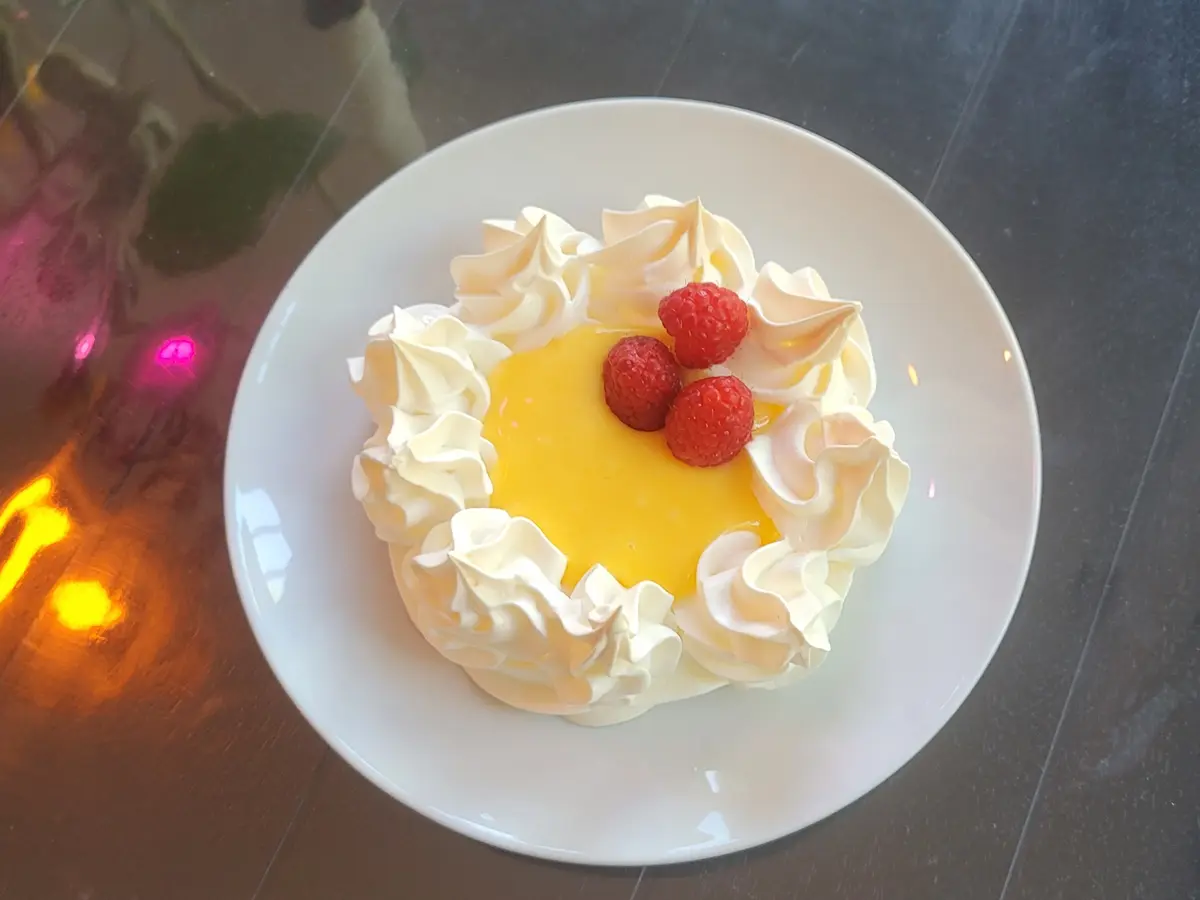
7The pavlovas should be assembled right before serving. Feel free to store unfilled pavlovas in an airtight container for a couple of days at room temperature. Right before serving, fill each pavlova with lemon curd filling or whipped cream and top with strawberries and their juices.
- 8
Variant: Crispy vs. Marshmallow Balance
If you prefer a crispier exterior and softer marshmallow interior, try this variation: use 1½ tsp (4g) cornstarch, 2 tsp (10ml) lemon juice, and 2 tsp (10ml) vanilla, while keeping the egg whites at 4 and sugar at 1 cup (200g). Bake at 225°F (107°C) for 1 hour and 15 minutes, then turn the oven off and, without opening the door, let them sit in the hot oven for 30 minutes.
To be honest, I can't decide which recipe I prefer and keep making them both! Each method yields delicious results—it's just a matter of whether you're in the mood for that extra-crispy shell or the softer marshmallow centre.
- 9
Optional Lemon Curd Filling (Make Ahead)
Combine the egg yolks, a pinch of salt, lemon juice, lemon zest, and sugar in a double boiler. Set the bowl over a pot of barely simmering water. Cook while constantly stirring with a flexible rubber spatula to avoid scrambling the eggs, for 10–15 minutes total; make sure the internal temperature has reached 175°F (79°C), at which point your eggs will be fully cooked and safe to eat. In addition, your mixture must be thick enough to coat the back of a spoon. At this point, start adding the butter a few tablespoons at a time, stirring constantly with a rubber spatula, waiting for each piece to incorporate before adding the next. Strain the mixture into a bowl and cool for 5 minutes. Place plastic wrap directly on the surface to prevent a skin from forming. Refrigerate for at least 2 hours before using.
FAQ
Na-try mo ba ang resipe na ito?
Mag-iwan ng star rating — nakakatulong ito sa ibang nagluluto na mahanap ito!
Mga Komento


Naghahanap pa? I-explore ang buong koleksyon — i-filter ayon sa lifestyle, cuisine, o dietary needs.