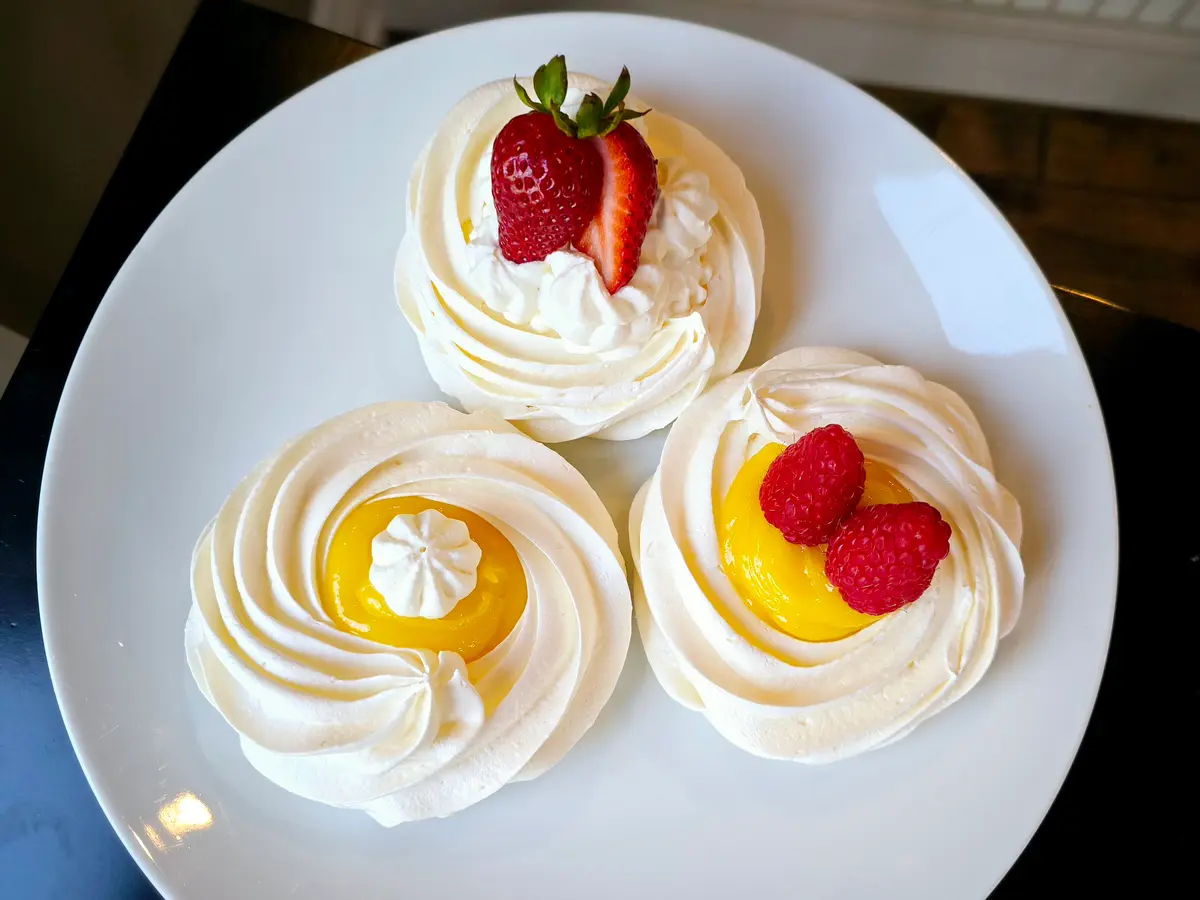
The Best Mini Pavlovas: Crisp on the Outside, Marshmallowy on the Inside
If you've ever thought pavlovas were too tricky to make at home, think again! After perfecting my bacon carbonara recipe, I found myself with leftover egg whites—what better way to use them than whipping up a batch of mini pavlovas?
Final Thoughts
Pavlovas are truly one of the most rewarding desserts to make. The contrast of textures—crispy exterior and pillowy soft interior—makes them an irresistible treat. With this foolproof recipe, you'll be able to enjoy beautifully crisp, marshmallowy-centred mini pavlovas that look as good as they taste.
So, next time you're looking for a dessert that's simple yet impressive, whip up a batch of mini pavlovas and enjoy a touch of elegance in every bite.
Mga Sangkap
- 4 large egg whites, at room temperature
- 1 ml cream of tartar
- 2 g salt
- 200 g granulated sugar
- 8 g cornstarch
- 10 ml lemon juice
- 1 ml vanilla extract
- For serving (optional)
- Whipped cream
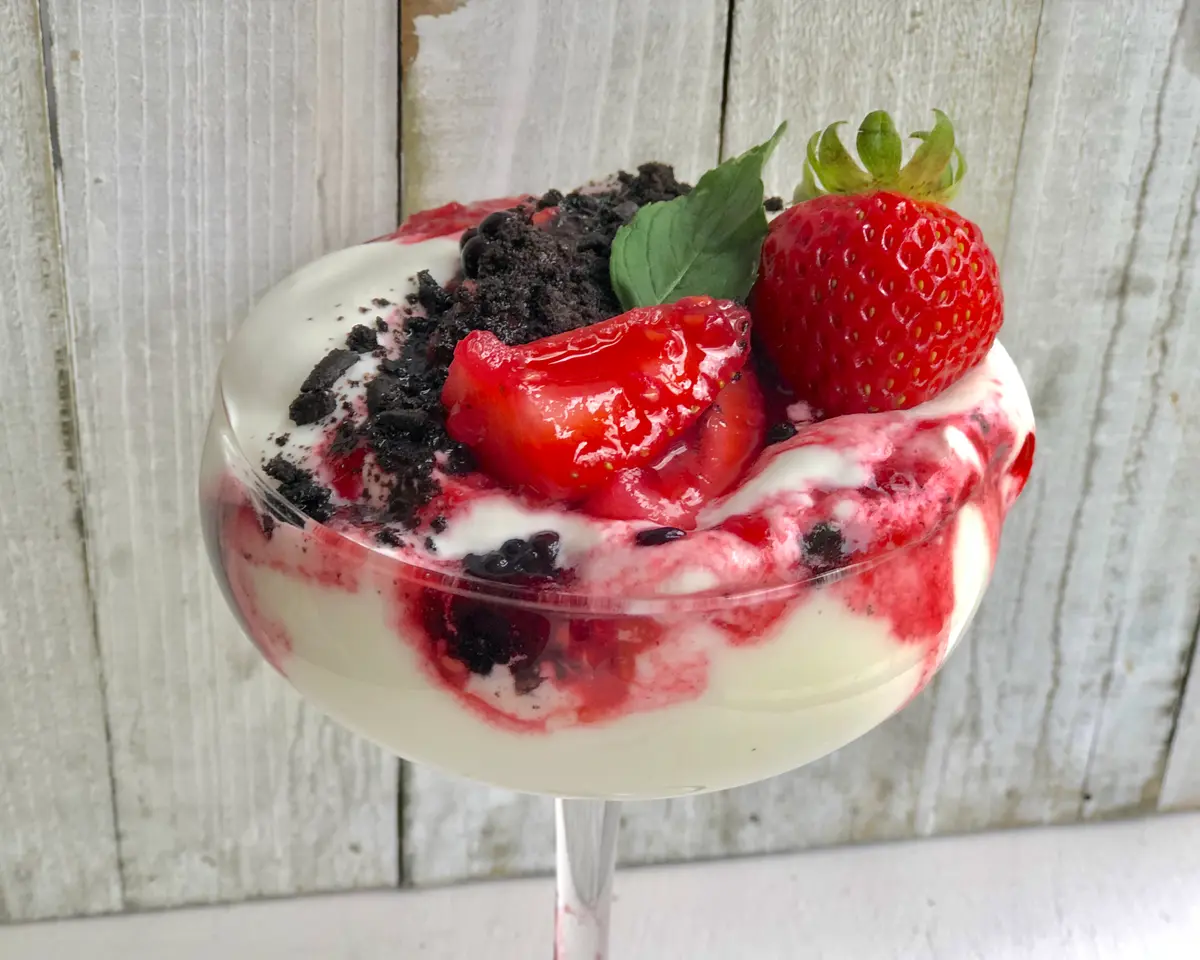
- Fresh fruit
- Additional toppings of your choice
Mga Tagubilin
- 1
Preheat oven and prepare pans:
Preheat your oven to 225°F (110°C). Line two baking sheets with parchment paper. If desired, draw 12 small circles (3 to 3½ inches/8 to 9 cm) on the parchment as piping guides to help you create evenly sized pavlovas.
- 2
Whip egg whites to soft peaks:
Ensure your mixing bowl is completely clean and grease-free, as any oil will prevent the egg whites from whipping properly. Add the egg whites to the bowl and beat on medium-low speed until they become foamy. Add the salt and cream of tartar, then increase the speed to medium and beat until soft peaks form—this should take about 2–3 minutes.
- 3
Gradually add sugar while whipping:
In a small bowl, mix the sugar and cornstarch together. With the mixer on high speed, add the sugar mixture one tablespoon (15g) at a time, taking about 2–3 minutes total. This gradual addition allows the sugar to dissolve completely, creating a smooth, glossy meringue. Scrape down the sides of the bowl once or twice to ensure full incorporation.
- 4
Add flavouring:
Add the lemon juice and vanilla extract, and continue beating for another 30 seconds, just until combined. Stop mixing as soon as stiff, glossy peaks form—this is critical to avoid overbeating. The meringue should hold a sharp peak that stands upright when you lift the beater, and feel smooth (not gritty) when rubbed between your fingers. Overbeaten meringue can lead to a grainy texture and excess moisture release during baking.
- 5
Pipe or spoon nests onto trays:
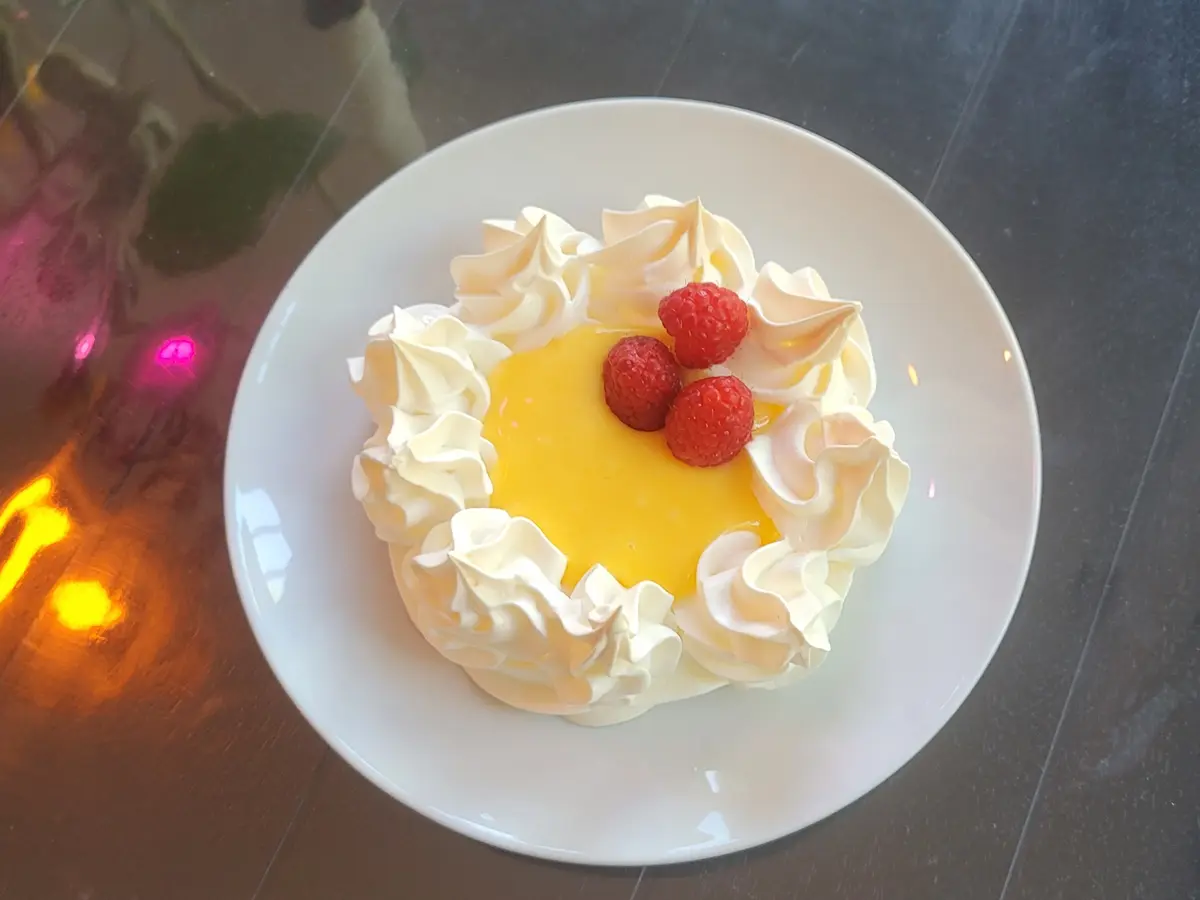
Transfer the meringue to a large piping bag fitted with a round nozzle. Pipe onto the prepared baking sheets by starting with a dot in the centre, spiralling outward twice to create a larger circle, then piping a rim around the edges to form a nest shape. This design creates a perfect base for your whipped cream and fruit toppings. Alternatively, you can spoon the meringue onto the trays if you prefer a more rustic look.
- 6
Bake at 225°F for specified time:
Place the baking sheets into the preheated oven and bake for 1 hour and 15 minutes. The pavlovas should turn a very pale golden colour—they won't brown significantly at this low temperature, which is exactly what you want for that marshmallowy interior.
- 7
Cool in oven with door closed:
Once baking is complete, turn off the oven and leave the pavlovas inside with the door closed for 35 minutes. This step is crucial for achieving the perfect texture without cracks, as it allows the pavlovas to cool gradually while remaining in the warm, dry environment.
- 8
Cool with door open:
After 35 minutes, open the oven door slightly and leave the pavlovas inside for an additional 15 minutes. Once completely cooled, carefully remove the pavlovas from the parchment paper. Fill with whipped cream, fresh fruit, or your favourite toppings, and enjoy immediately for the best texture and flavour.
FAQ
Na-try mo ba ang resipe na ito?
Mag-iwan ng star rating — nakakatulong ito sa ibang nagluluto na mahanap ito!
Mga Komento


Naghahanap pa? I-explore ang buong koleksyon — i-filter ayon sa lifestyle, cuisine, o dietary needs.