Perfectly Seared, Oven-Finished Burgers: A Magnificent Easy Meal in 20 Minutes
If you've ever craved that juicy, restaurant-style burger without fussing over a grill, this technique is for you. In just about 20 minutes, you can have perfectly seared, oven-finished burgers on the
If you've ever craved that juicy, restaurant-style burger without fussing over a grill, this technique is for you. In just about 25 minutes, you can have perfectly seared, oven-finished burgers on the table. It's quick, delicious, and surprisingly simple—plus, many people don't realize how easy it is to make burgers at home.
Why Oven-Finished Burgers Are a Game-Changer
They're fast, flavorful, and foolproof. After a brief sear in a hot skillet, a quick trip to the oven helps the burgers cook evenly all the way through. You get a gorgeous crust without any risk of undercooking or burning, and there's less cleanup involved since you only need one oven-safe pan.
The Secret to Bold Flavor
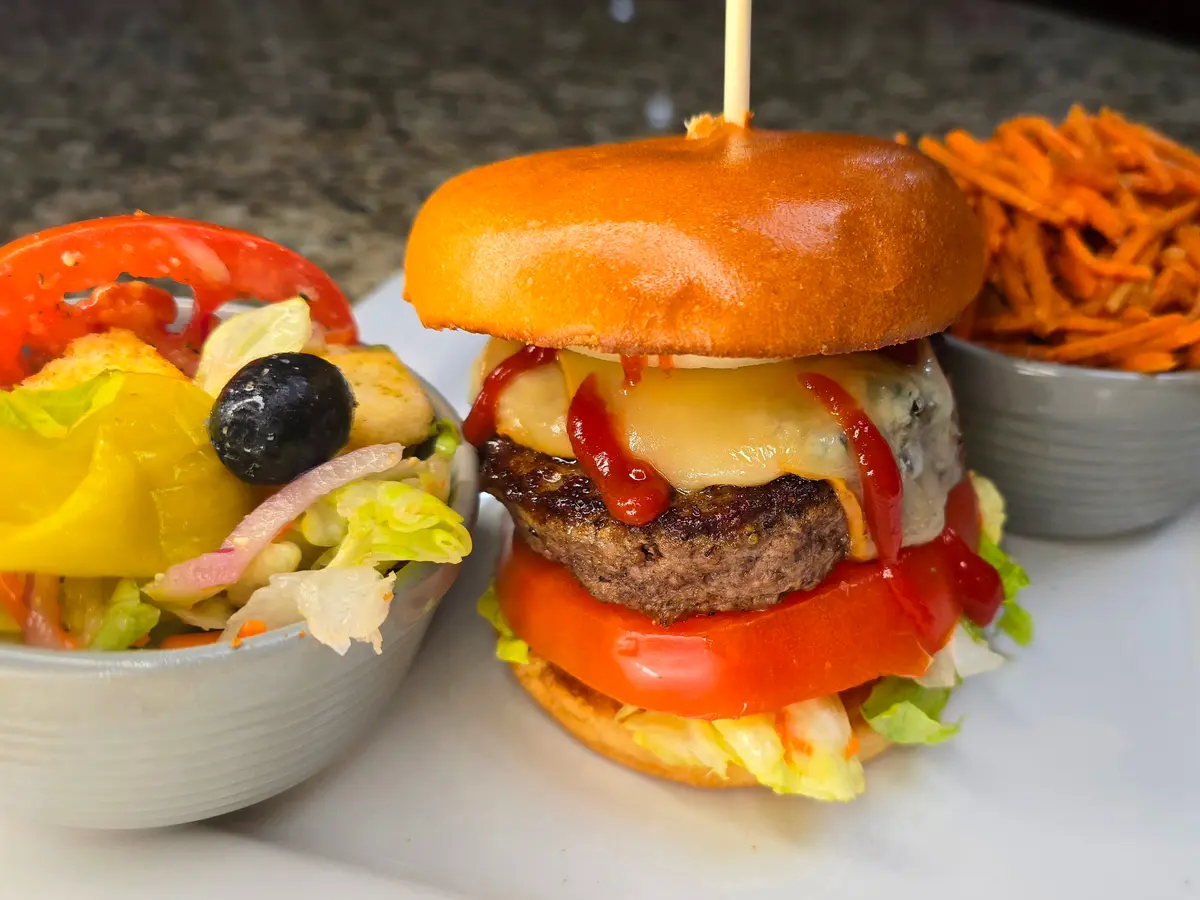
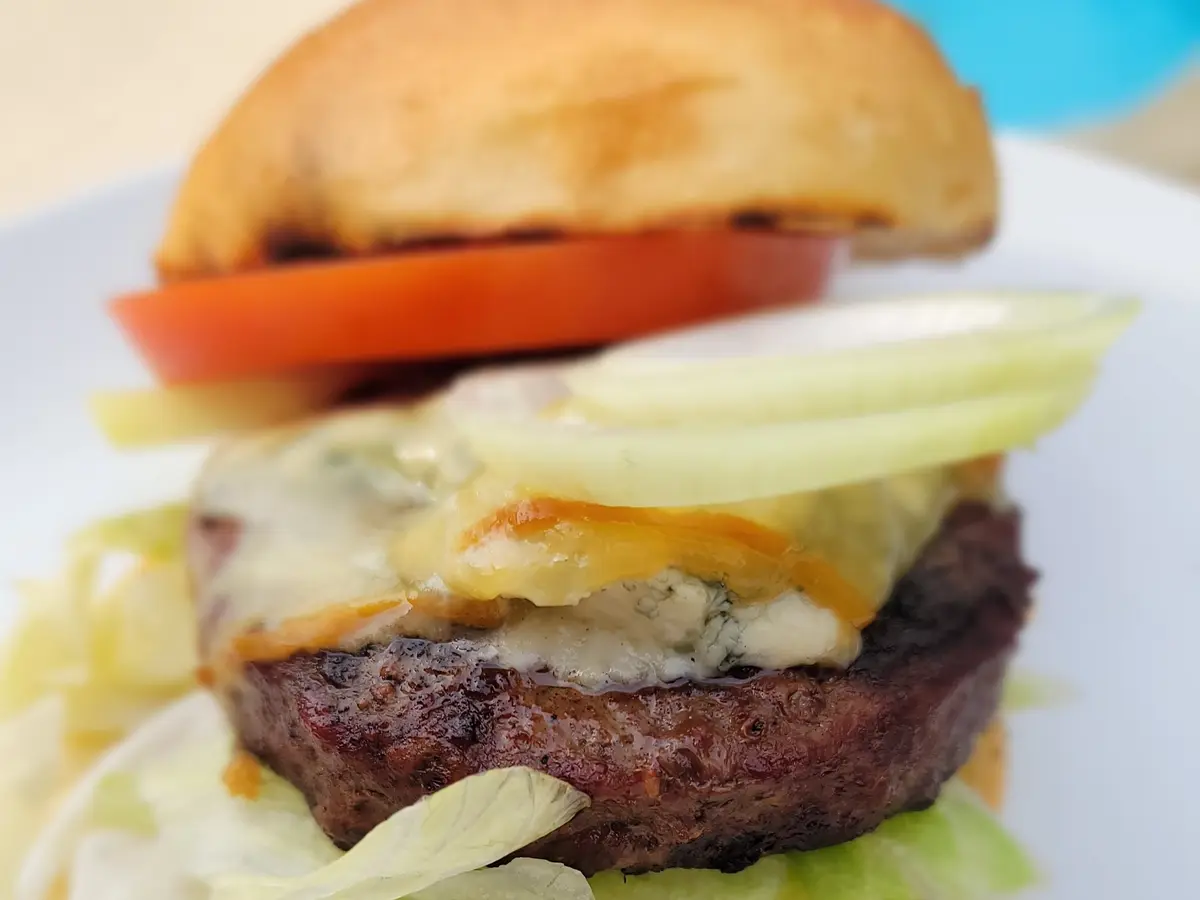
Cast iron is your best friend here. It retains heat remarkably well, creating that signature sear on the outside of each patty. Choose 80/20 ground beef for optimal juiciness, and don't be shy with the toppings—stack these burgers high with lettuce, tomatoes, onions, and tangy condiments. For an extra touch, add a slice of your favourite cheese along with a bit of bold blue cheese right before the burgers finish baking.
Tips for the Perfect Burger
- Shape Gently: Overworking the meat leads to tougher patties.
- Thumbprint Indent: Press a small dimple in the centre of each patty for even cooking.
- Use a Thermometer: Aim for 165°F for well-done beef.
- Rest and Toast: Let the burgers rest a few minutes after they come out of the oven, and always toast your buns for a delightful crunch.
Quick, Delicious, and Crowd-Pleasing
These burgers are a lifesaver on busy nights. Five minutes of prep and 15 minutes of cooking can yield a meal that tastes like it was made in your favourite diner. Serve them with crisp fries or a simple side salad, and you'll have a mouthwatering dinner that's sure to impress—even on a tight schedule.
Mga Sangkap
- 454 g ground beef or a 4-pack of fresh burger patties
- **Salt and freshly ground black pepper**, to taste
- 15 ml cooking oil (such as vegetable or canola), for searing
- 4 buns, toasted
- 60 ml crumbled blue cheese, optional
- 4 cheese slices (any desired cheese of choice)
- **Your favourite burger toppings** (lettuce, tomato, cheese, onions, condiments, etc.)
Mga Tagubilin
Burger Patties
1Preheat the oven to 400°F (200°C).
- 2
Form the patties if needed. If you're using ground beef, gently divide it into 4 equal portions (about 4 ounces/113g each). Shape each portion into a patty about ¾-inch (2cm) thick, taking care not to overwork the meat. Use your thumb to make a small indent in the centre of each patty (this helps them cook evenly).
- 3
Season the patties. Sprinkle both sides of each patty with salt and pepper, or your favourite seasoning blend.
- 4
Preheat and oil the skillet. Place a heavy, oven-safe skillet (cast iron is great) over medium-high heat. Add about 1 tablespoon (15ml) of oil and let it heat until shimmering.
- 5
Sear the patties. Carefully place the patties in the hot skillet. Sear for 2 to 3 minutes per side, or until a deep brown crust forms.
- 6
Finish in the oven. Transfer the skillet with the patties into the preheated oven. Bake for about 5 to 8 minutes, or until the internal temperature reaches 165°F (74°C) for well-done burgers. Use an instant-read thermometer for accuracy. In the last two minutes of baking, top with blue cheese and a cheese slice.
Assembly
7Rest and toast. Carefully remove the skillet from the oven and let the patties rest for a few minutes to lock in the juices. Meanwhile, toast your burger buns in the oven, on the stovetop, or in a toaster.
- 8
Assemble and serve. Place each patty on a toasted bun. Top with your favourite fixings—lettuce, tomato, cheese, onions, or condiments like ketchup, mustard, or mayo. Enjoy your perfectly seared, oven-finished burgers!
FAQ
Na-try mo ba ang resipe na ito?
Mag-iwan ng star rating — nakakatulong ito sa ibang nagluluto na mahanap ito!
Mga Komento


Naghahanap pa? I-explore ang buong koleksyon — i-filter ayon sa lifestyle, cuisine, o dietary needs.